DJI is slowly getting the very popular Mavic Pro out to customers. Whether yours has just arrived, or you’re interested to see what comes in the box when it does arrive, join us for a quick unboxing and initial setup of the DJI Mavic Pro.
Available in two purchasing options, you can get the DJI Mavic Pro as the straight drone for $999 or with the Fly More combo for $1299. Everything you need to get in the air is included in the base package, while the Fly More combo provides extra batteries and extra tools mostly relating to power.
The Drone
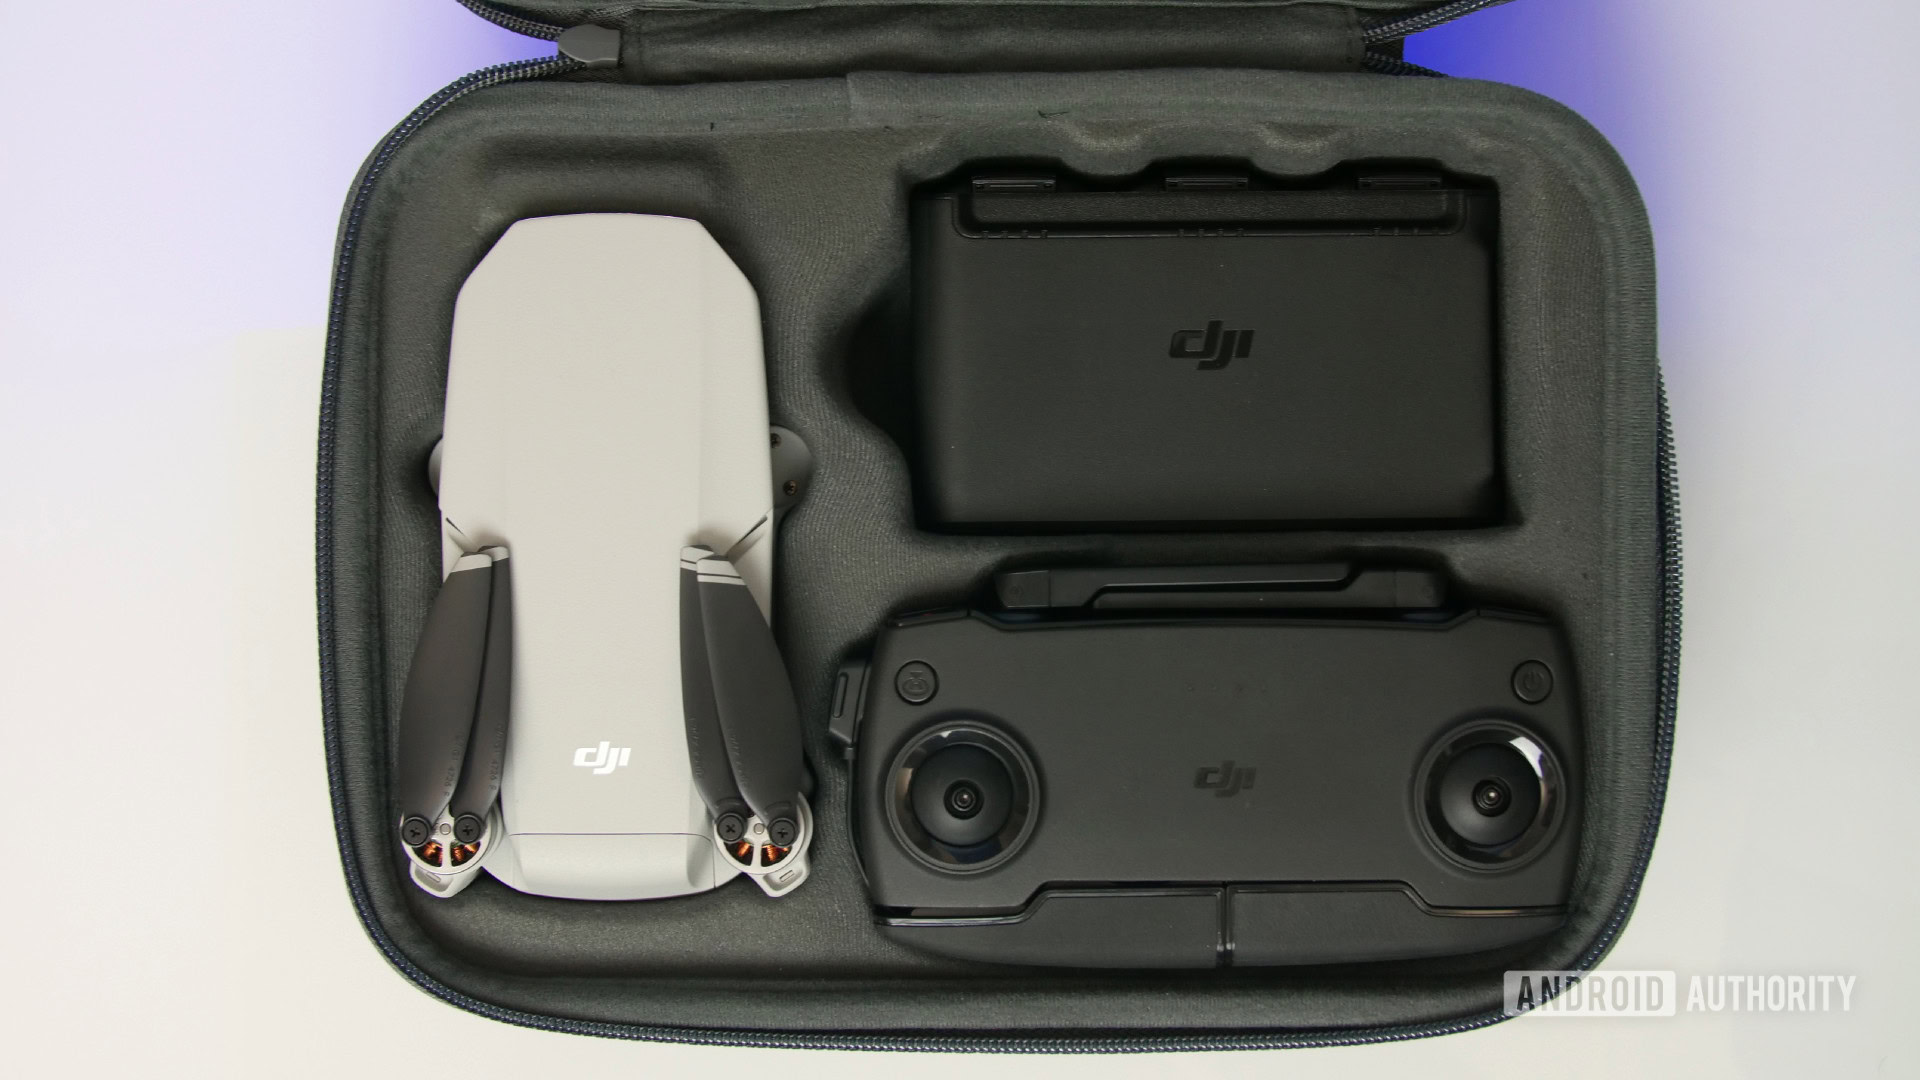
Starting with the base pack, the DJI Mavic Pro ships with the drone itself, the remote control, three remote connection cables, a power cable for the remote, the charger for the removable drone battery and an extra pair of propellers.
The drone comes with only the rear propellers installed, giving you the opportunity to learn how to install the props before your first flight. Installation is very simple, match up the small white circle on the one propeller to the white ring around one of the motors, line up the pins on the underside, press the propeller down into the motor and give a little twist. It’ll pop into place or pop off if you didn’t do it right.
Match the other propeller and motor and repeat. Do not mix these up, one spins clockwise and the other counter- clockwise, installing backwards will create downforce, your drone will never get off the ground.
The Mavic Pro is a collapsible drone, which you’ll need to unfold before you can fly. Start with the front arms, simply unfold them from the side of the drone, they are spring loaded, so they’ll resist you a little, then pop right open.
The rear arms are folded underneath the drone. The propellers are installed, so please be careful when you unfold, but go ahead and fight that same spring-load until the arms pop into place.
When setting the drone down on a surface, note that the feet are on the front arms and at the back of the main body of the drone.
Warning: It is not recommended to suspend any cargo from the DJI Mavic Pro, it is a finely tuned machine, I wouldn’t risk putting it out of balance. However, the point I really want to make, suspending a load from the arms may cause them to fold in on themselves, compromising flight and possibly damaging the drone.
Battery installation is as easy as lining it up and pressing it down. There are two little buttons on either side of the battery, pinch them together and pull up to remove the battery.
It is recommended to power on the remote before powering on the drone, so let’s talk about the remote first.
The Remote
The remote for the DJI Mavic Pro is an impressively small, video-game inspired, controller. It has two antennae, which fold together and snap in place. There are two folding arms that mount your smartphone at the bottom. Supplied are cables with micro USB connector for Android devices, Lightning connector for modern iPhone and USB Type-C for whatever doesn’t fit above.
Smartphone connectivity can be managed through the micro USB port on the left side of the remote or through the full size USB port at the bottom. Use the side micro USB port to charge the remote itself.
We’ll talk about how to fly your Mavic Pro later, for now, I’ll tell you that you need to double tap the power button to turn on the remote, single press then immediately long press the power button until it powers up. A single tap will read out the current power level. This is true of the drone as well, double tap to power on.
DJI Go mobile app
You do not need to use your smartphone or small tablet with the DJI Mavic Pro, the supplied remote is enough to handle the majority of flight and photography needs. That said, there are extra functions and features only found within a connected smartphone running DJI’s app.
Head on over to the Google Play Store or the Apple App Store to download the appropriate version of the DJI Go app for your device.
Update: Look for the new DJI GO 4 app for the Mavic Pro and newer drones!
Before you fly!
Using the DJI Go app on your connected mobile device, the very first time you power on the Mavic Pro and remote you will likely need to install updates. This can be done wireless through the app, or connect the drone and remote each to your PC to use the DJI Assistant program to update.
You will see flashing lights and pop up warnings all over the place on the remote, mobile device and drone if there are necessary updates or other reasons that the drone is not yet airworthy. Do not ignore the signs, make sure everything is updated, configured and set to go.
The DJI Go mobile app operates as your FPV (first person view) for the drone, allowing you to see what the drone camera sees. The top bar includes flight readiness status on the left, with connectivity and battery stats across the right.
Below the top bar, watch for popup notifications in the top left corner, warnings about GPS connectivity and more will appear here. The left edge has automated flight buttons, tap to take-off, land, auto navigate to home and stop the use of some of the more advanced flight modes. The right side contains camera controls with the camera view taking up the majority of the display.
In the bottom left corner is a map showing the drone’s location, not yours, and there is flight details like speed, elevation and more across the bottom.
We’ll discuss the actual functionality at a later date, for now, that is the bulk of the setup and things to know before you spin up the propellers on your Mavic pro. Of course, be sure to learn your local laws before you take to the sky.
Fly More combo
As you can see, the above tools are all you need to get into the air, however, DJI doesn’t want you getting bored. The Mavic Pro offers up to 27 minutes of flight time, the Fly More combo, in short, looks to keep you flying for 81 minutes.
The contents of the Fly More combo start with two extra batteries. It’s not like you’ll be able to enjoy 81 minutes of continuous airtime, but it only take a minute to land and swap batteries. Consider giving the drone a minute to cool down, hear those cooling fans running?
In addition to batteries, the Fly More combo includes a multi-port charger, a car charger, additional propellers and a nifty adapter that allows you to use a Mavic Pro battery as an external power pack for your other USB powered peripherals.
Last, there is a nice carrying pouch in the Fly More combo. As slim as can be to carry the drone, controller, a couple batteries and some cables. Not much more, but it’s well padded and ready to roll.
DJI Mavic Pro Tips and tricks
Here are a few tips and tricks we’ve learned with our first week flying the Mavic Pro.
Crossed propellers
The folding design of the propellers on the Mavic Pro take a lot of the guess work out of setup, but, they present a new damage risk, themselves. We chat with DJI about this during our flight training, the premise is simple, you do not need to completely open the propellers, but do not leave them crossed before starting up. The blades will scratch against each other eventually causing structural damage, or creating a groove in which the blades will stick, then you’re in trouble.
Related reading: DJI Mavic Pro hands-on and flight training
Good thing the basic kit comes with extra blades, but you can avoid that need with a simple action, open the propellers before powering on.
Good lighting
Flying outdoors is the recommended use for the Mavic Pro, but if you do wish to fly indoors, the proximity and collision sensors are capable of keeping your drone stable and safe. For these sensors to work properly, they require a fair amount of light, if your room is too dark, you may be in for a surprise.
The ability of the Mavic Pro to remain at a solid hover indoors (without GPS) depends on the good lighting and ability to see obstacles. In poor lighting or small rooms, expect the drone to not handle as intended. In short, if you don’t have a large room and good light, wait until you can get outside to fly.
Charge you phone
It is great that you have multiple drone batteries for extended flight time, but, did you know that the remote will charge your connected mobile device? That’s right, in addition to the flight controls, the remote sends power to your phone or tablet. Now, if you’ve got a phone like mine, the Nexus 6P, which sucks in the power as fast as it can, you’ll find the remote empty in no time.
For my first major flight, my phone had about 86% at the start, and the remote was fully charged. After draining an entire drone battery in about 22 minutes, (I was flying it hard in some wind,) my phone was fully charged and the remote was down to just 64%. Handy feature, but non-sustainable situation.
Start in Tripod mode
For your first flights, consider activating tripod mode, this drastically reduces the speeds and sensitivity of the Mavic Pro. This feature was designed for extremely stable camera work, but doubles nicely as a training mode.
Use a solid color landing location
When the Mavic Pro first takes off, it registers it’s location and takes images of its surroundings to mark that precise point as Home, as needed for each flight. In our testing, despite launching with no issues, the drone didn’t want to land in the same spot on my hardwood floor that it took off from. The image sensors registered the knots and multi-colors of the floor as an uneven surface.
Time to fly
When written out like this, the pre-flight setup sounds a little overwhelming, rest assured, DJI has made it a fairly painless process. Best of all, once setup and configured, you’ll get plenty of flight time before you need to do any further updates.
We’ll be bringing you our full review of the DJI Mavic Pro soon, then we will explore the fun that is taking to the skies with this powerful flying camera.
Related reading:
If the Mavic pro is your first drone, I urge you to check out an inexpensive trainer first. We’ve slapped together a list of good cheap drone options, start small, learn how to handle crashes and steer your drone when it gets spun around, then put your $1000 toy in the air.
Is there any other tidbits that you think all first time DJI Mavic Pro users should know before they buy or fly?
By signing up, you agree to our Privacy Policy and European users agree to the data transfer policy.